Redirect AVD URL with a static web app
When you read the title like this, you think "That could be pretty handy!". So that's why I put it in writing.
I had this a recent customer, where I migrated them from an on-prem RDS farm to Azure Virtual Desktop.
Why would you choose to change the current url of Azure Virtual Desktop (https://client.wvd.microsoft.com/arm/webclient/) to something else?
- It's a pretty long url. It is difficult to pass it on to an end user
- 🤔
Andddd I can't think of anything else for now.
So, what I want to achieve is to get that long url to a shortened url, e.g. avd.domain.tld. This can be done, with the help of Azure, in 2 ways.
- A Static Web App
- A Function App
Now my Function App is broken. That's because Microsoft made a change to it and I haven't had time to figure this out yet. But the customer wants to move on.
So, in this blog post, I'm going to focus on how to use a Static Web App.
First of all, you need a GitHub account and repo for the "website". You can copy/fork my "website" from my GitHub account 👇.
 BurgerhoutJ
What we need:
- Azure subscription
- GitHub account and repo for the "website"
- Static Web App
- Access to the DNS service
Let's get to work.
- Log in to https://portal.azure.com
- Click on Create a resource
- Search for Static Web App and click on Create
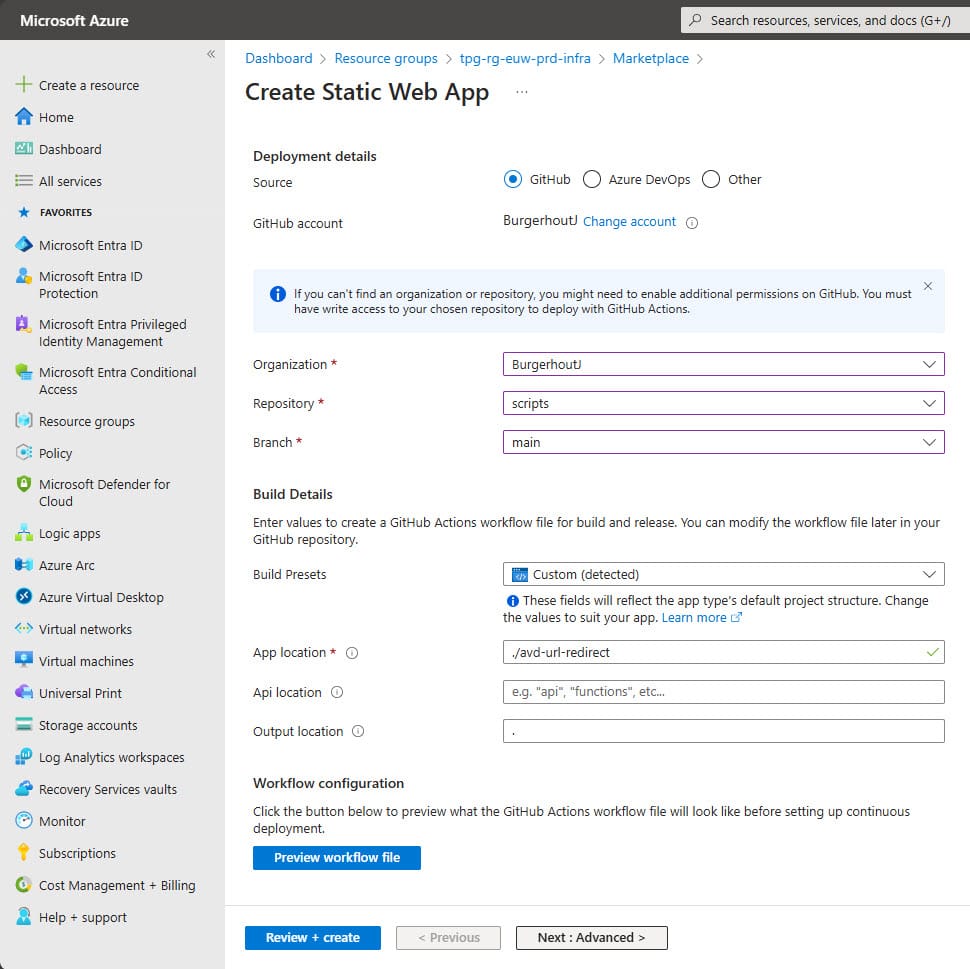
- Choose as Deployment Source for GitHub
- Connect your GitHub account
- Choose the repository
- Choose the branch
- At App location field, fill in "/" as root or in my case "/avd-url-redirect" as rootmap of the "app"
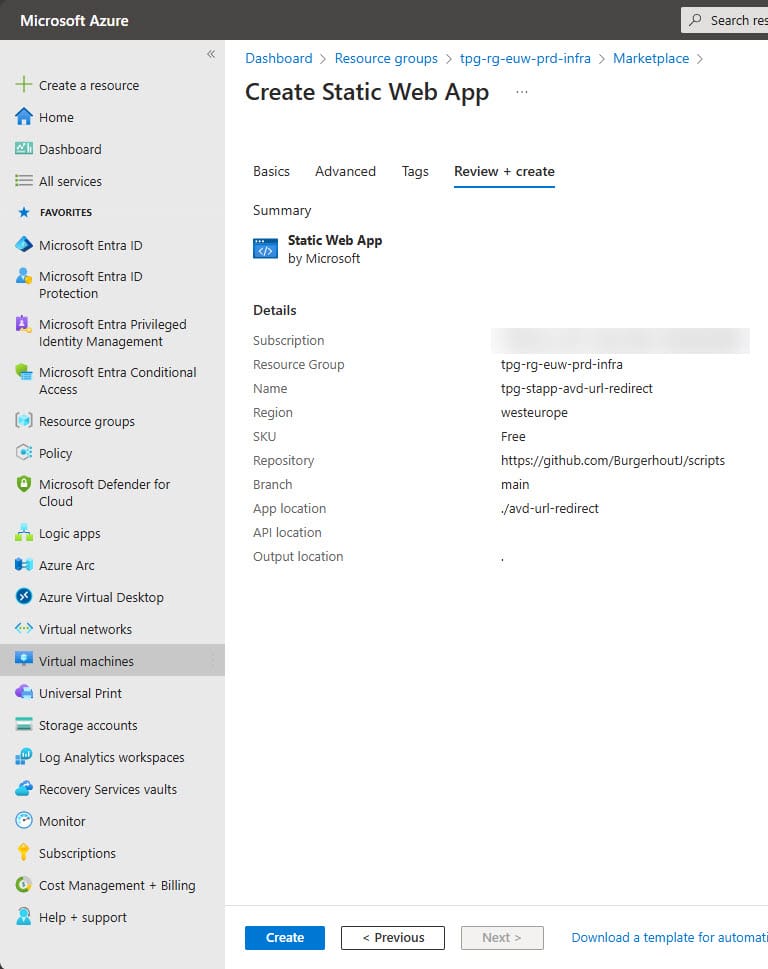
- Click on Review + create
- Click on Create and the web app will be configured
- After the Static Web App has been built, you will see a overview like the below image.
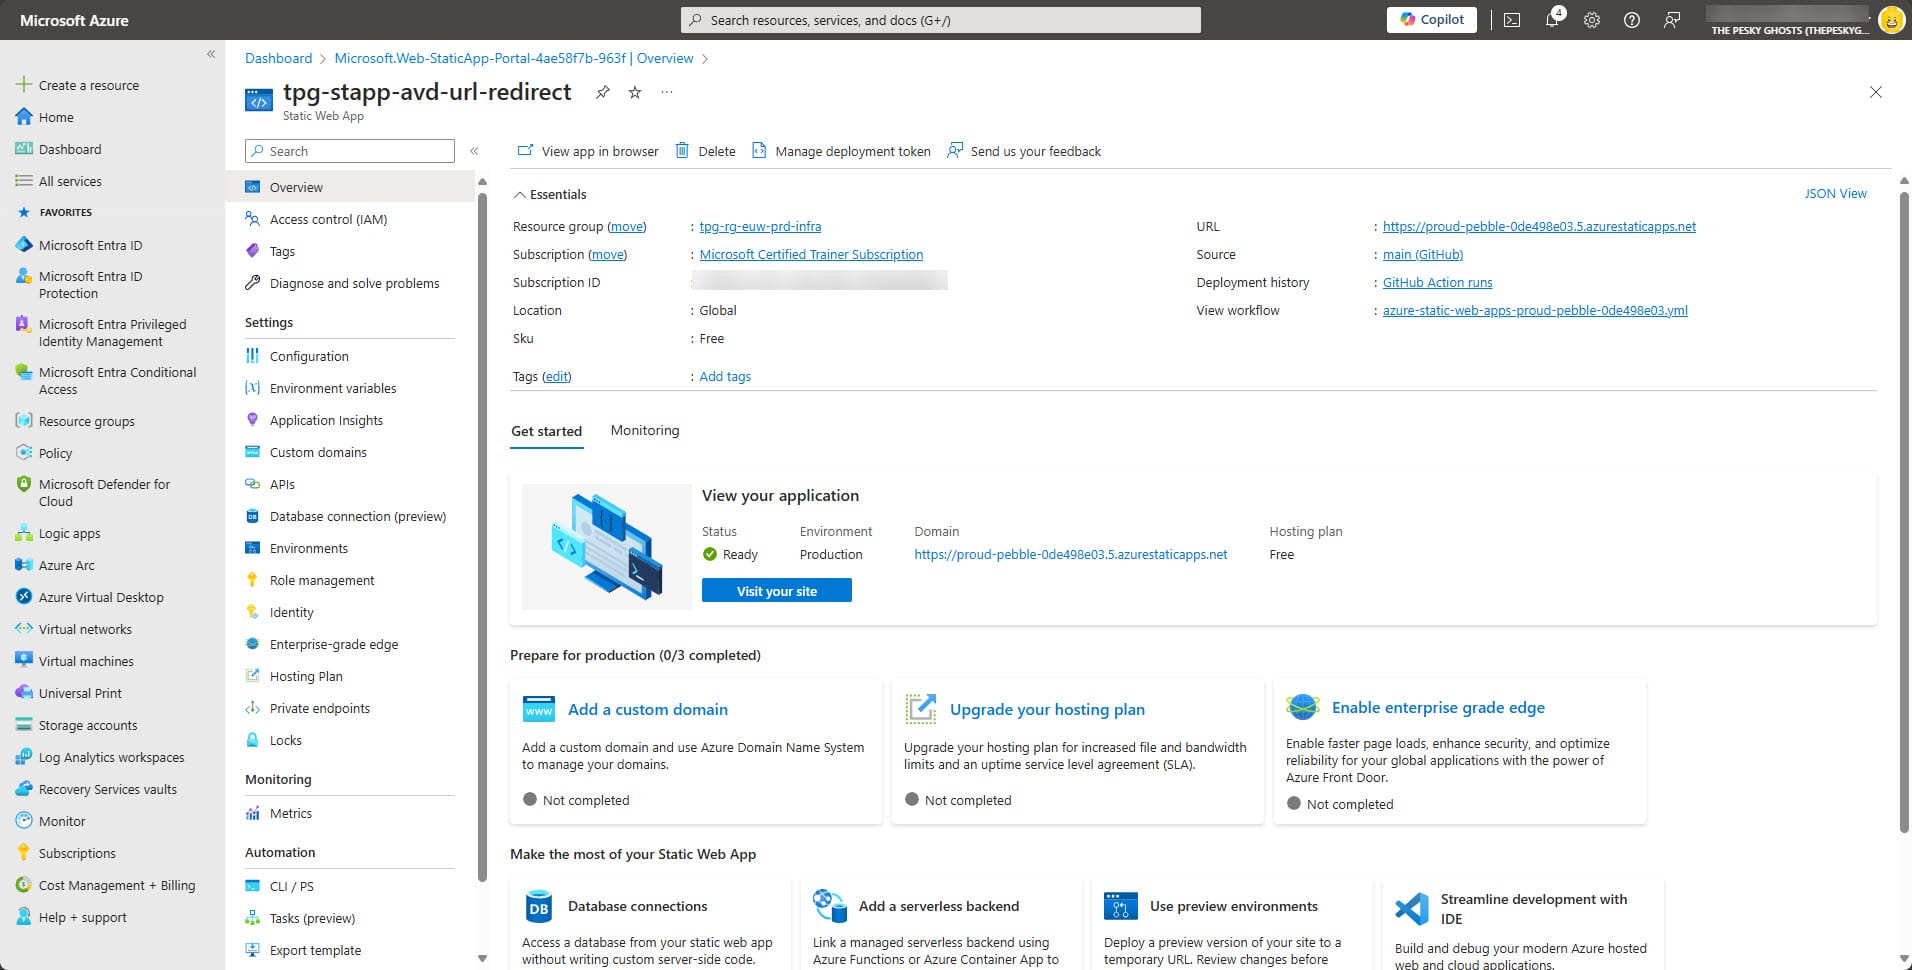
- You can open the "website" by clicking on the url in the top right of this overview blade.
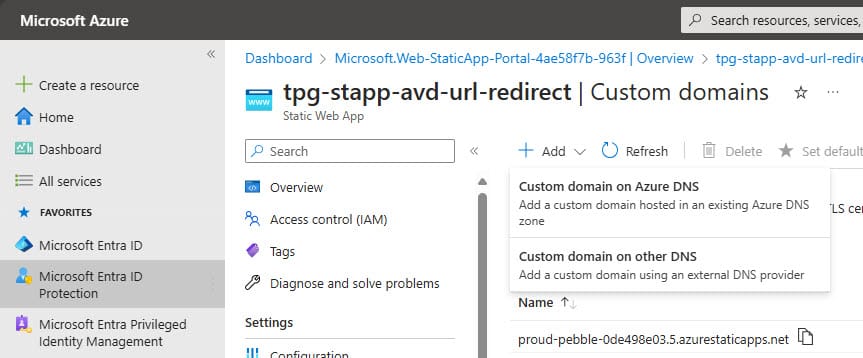
Now we need to add a custom domain to this Static Web App.
13. Click on Add a custom domain
14. Click at Custom domain on Azure DNS or Custom domain on other DNS. I have an other DNS provider, so I choosed the 2nd option.
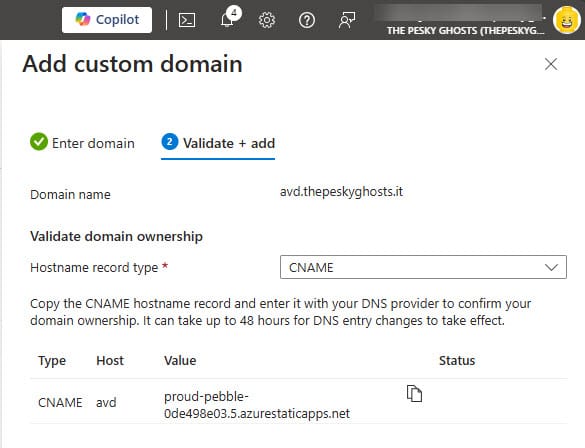
- Fill in your custom domain name and click on Next

- Choose for CNAME
- Copy the displayed DNS record in to your DNS service.
- Click on Add
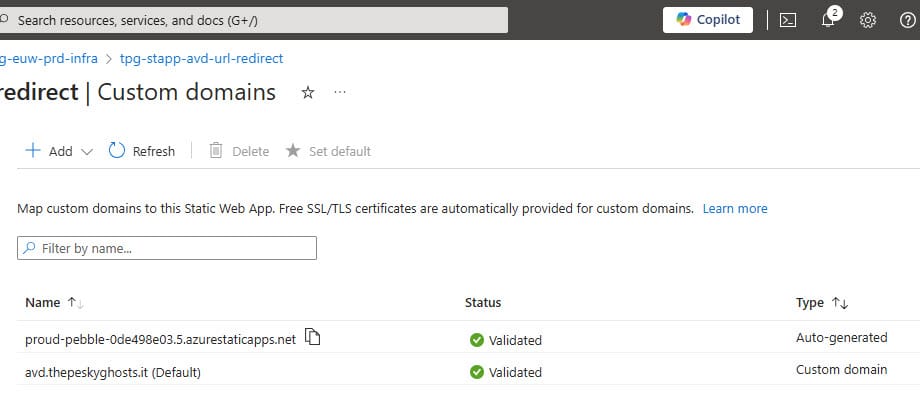
- Your custom domain is added to the Static Web App.
From now on, you can reach your Azure Virtual Desktop environment via your custom, company branded, url.
Video 01 - Redirect in action
That is it for now. Until next time. 👋 🍻