Gettings started with Microsoft Teams Rooms (Part 2)
I have updated this blog post on 27-05-2021 with new W10 20H2 version and the newest TeamsRoom software 4.8.31.0.
Welcome at the second part of this series about the virtual Microsoft Teams Room. I had some busy weeks and I know that a few people are waiting for this part, so we are going to start.
In part 1, we have configured the MTR-account in Office365, assigned a Meeting Room license, created a resource mailbox with some optional parameters for automatic reply and so on, enabled Skype for Business (as a room) and set the password no not expire.
This series is divided in the following posts:
Part 1: Creating the Teams Room account and arrange the license
Part 2: Installing Microsoft Teams Room in Hyper-V
Part 3: Connect and manage it with Microsoft Endpoint Manager
Part 4: Customize the Microsoft Teams Room
Part 5: ?
You can find the files, scripts and other stuff that I have used in this series on my GitHub page at https://github.com/BurgerhoutJ/scripts/tree/main/microsoft-teams-rooms.
Part 2: Installing Microsoft Teams Room in Hyper-V
In this part we are going to install a Windows 10 device in Hyper-V, install the SRS software on it, tweak it a little with SkypeSettings.xml and the system will be ready for use.
What do we need?
You must have the following:
- Hyper-V (or something else)
- Windows 10 20H2 Enterprise ISO
- Teams Rooms software
- Internet (of course)
At the time of writing this part, Windows 10 20H2 (19042.631) is now supported with version 4.8.31.0 of the Teams Room software. Blog post is updated.
Hyper-V
In Hyper-V, we are going to create a new virtual machine with 8GB of RAM and mount the 20H2 ISO to it. Boot it, proceed with the install wizard, create a local account, do some updates and done. That is quite straight forward.
Teams Rooms software
You can download the MTR software for free at https://go.microsoft.com/fwlink/?linkid=851168. This morning I downloaded version 4.8.31.0 and this is also the version we are going to install.
After your virtual Windows 10 20H2 device is ready, copy / paste the downloaded SRS software to a folder on the virtual machine. In my case I used C:\Temp.
- Execute the SRSDeploymentKit-4.8.31.0.msi
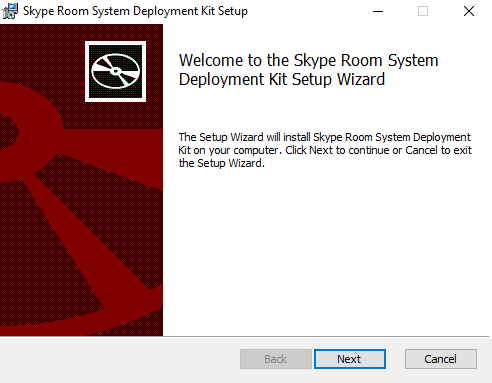
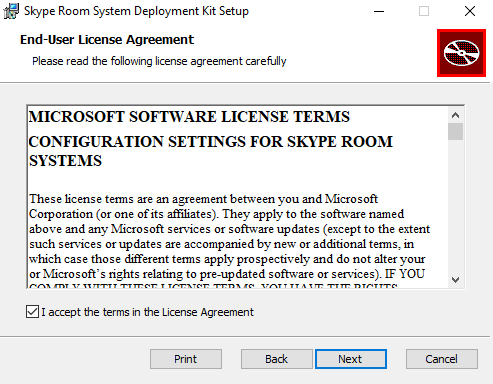
- Accept the License Agreement
- Choose the desired folder to install
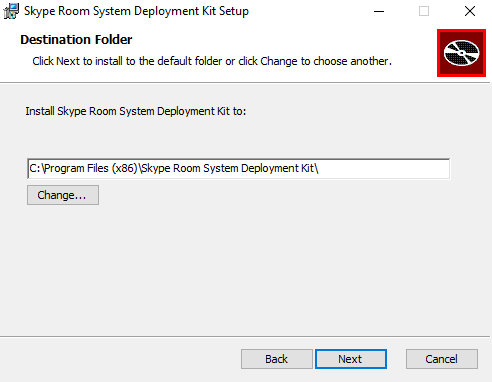
- Click on Install to continue

- A new explorer window will pop up
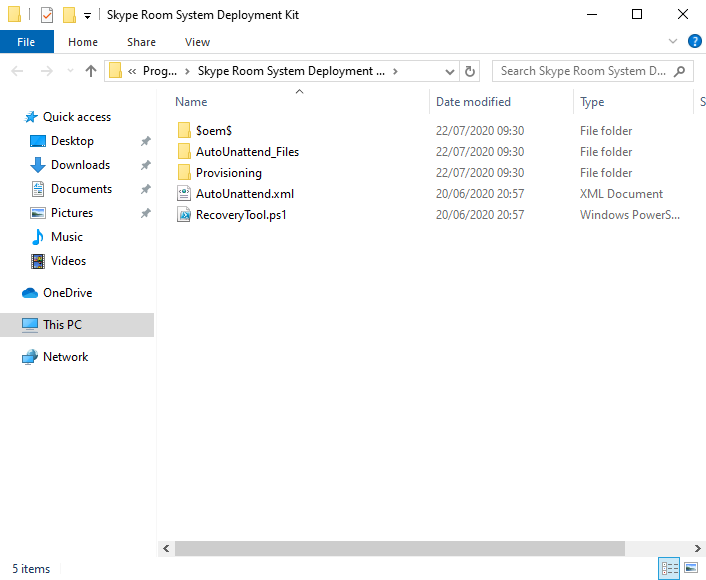
- Start PowerShell in admin mode
- Go to the folder where you installed the deployment kit
- Execute Set-ExecutionPolicy Bypass
- Execute MD C:\Recovery\OEM
- Execute RecoveryTool.ps1
- Choose for option 2
- Open the Settings app, Update & Security, Recovery and click on Get started under the Reset this PC option. Choose for Remove Everything, proceed with the wizard until the device will reset itself.
Lean back and grab a coffee and watch how this device magically convert to a Teams Room device. I will not be going to bore you with 45 minutes watching to a recording, so I speeded it a little up and deleted some unwanted scenes in the video below.
Ok. At this point you will see the setup page of your just installed virtual MTR. You can accept the terms and configure your account, but probably you will end up at this screen: 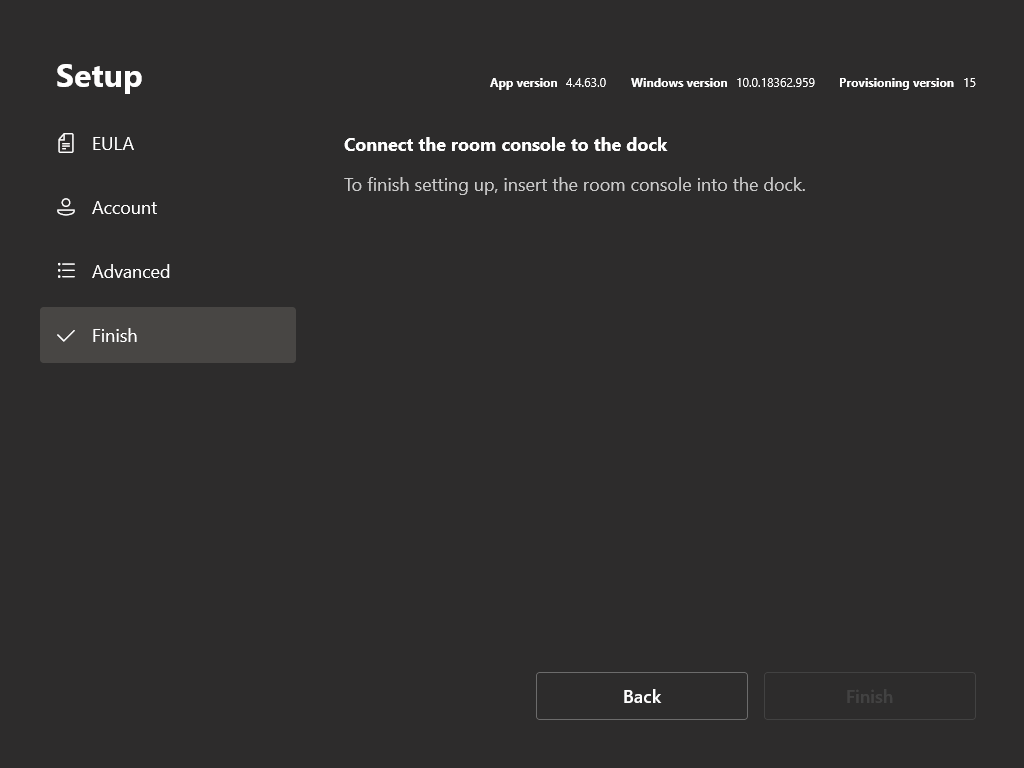
So, we are going to exit this setup, by going back to the EULA screen and press Exit. At the user screen, login as the local administrator. Default password for the local administrator is “sfb”. Please change this!
Browse to the following folder:
C:\Users\Skype\AppData\Local\Packages\Microsoft.SkypeRoomSystem_8wekyb3d8bbwe\LocalState
and create a new SkypeSettings.xml-file with the following settings:
    <SkypeSettings>
    	<UserAccount>
    		<SkypeSignInAddress>test@test.com</SkypeSignInAddress>
    		<ExchangeAddress>test@test.com</ExchangeAddress>
    		<Password>test</Password>
    	</UserAccount>
    </SkypeSettings>
All set? Reboot the MTR and hopefully the MTR will pick up the XML file and configure the fictive account. You will see that the account cannot sign in. That is correct. 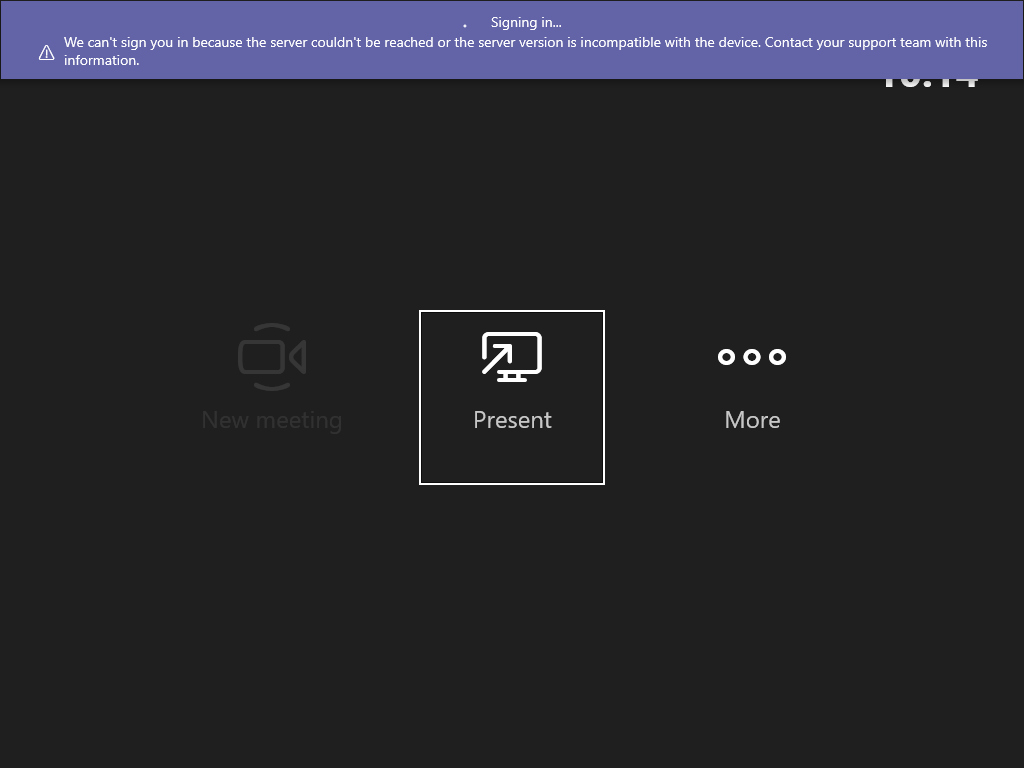
Click on the three dots (More), click Settings, fill in the local administrator password. Go to Account and fill in your corresponding account settings which you created in part 1 and click Save & exit.
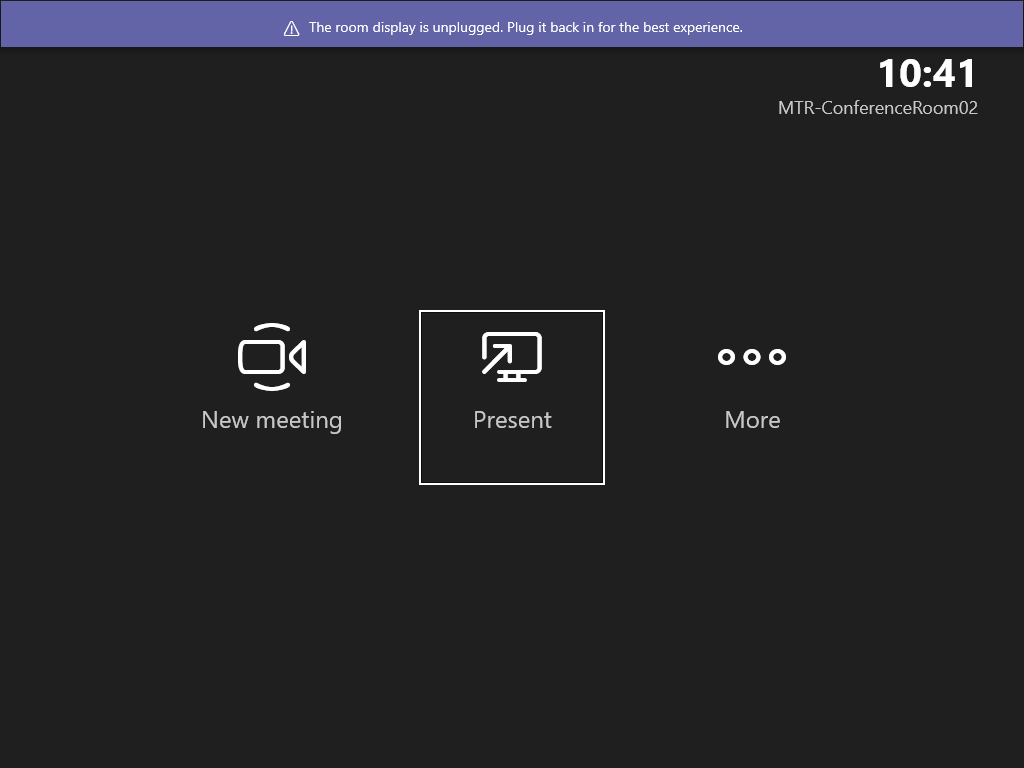
As an end result, you will see the below screen. The account is succesfully signed-in, but the MTR want's to have a external display for the best experience. Ignore that. 😀
That is, it for now. Next part will be to connect the MTR with Endpoint Manager so we can manage this device.
Resources
• https://docs.microsoft.com/en-us/microsoftteams/rooms/rooms-lifecycle-support
• https://go.microsoft.com/fwlink/?linkid=851168
• https://docs.microsoft.com/en-us/microsoftteams/rooms/xml-config-file